

Introduction to KVM
KVM is a free and open-source Kernel-based Virtual Machine using the Linux kernel for virualization and is very similiar to a hypervisor like Xen or VMware's ESXi. It is based on Qemu, a processor emulator. Any virtual machine created on or working on KVM can work on Qemu also, but with a great reduction in speed.
There are some graphical user interfaces available for KVM and Qemu that can be used, but in this article we will use the command line options. This way I feel somewhat more in control and get a better feel and understanding of the system.
In this blog, we will create a virtual machine by Installing Ubuntu 9.04 on it.
Tips
- For best results, make sure cpu hardware virtualization is turned on in your BIOS. This is supported by most modern CPU's. If your BIOS doesn't have such an option but your CPU supports this, then updating the BIOS firmware might help.
Step 1 Creating a Virtual Hard drive
First we need to create a Virtual Hard drive for our Virtual Machine, or you can use an existing one. You can create one with qemu-img.
You can create the virtual disks in several formats, some that can be mounted by the host Linux system, some legacy and even VMware compatible disks, but for the purpose of getting started with KVM, let's create a disk in the native Qemu format (qcow2).
Because KVM is based on Qemu, almost all the options are the same as with Qemu, and therefore we will create the image in Qemu format. The command to do this from the linux command line is:
$ qemu-img create -f qcow2 kvm-virtual-disk 10G
This will create a virtual disk of type qcow2, with size 10 Gigabytes. The name is kvm-virtual disk. This disk will not initially be 10 Gb, but only about 55kb, and will grow as the Operating system is installed and more data is stored on this virtual disk, but it cannot grow larger than 10 Gb (or whatever is specified).
Step 2 Boot the Operating System installation image
We are not ready to boot the installation image for the Operating System we want to install on our virtual machine. Here we are installing Ubuntu 9.04 from a DVD, so we insert the DVD into the drive. From the directory containing the virtual disk, run:
$ sudo kvm -cdrom /dev/cdrom -hda kvm-virtual-disk -boot d -m 512
Just make sure about your own CD/DVD-Rom drive path or device filename. -hda is the virtual hard disk you want to use, -boot is the boot device, in this case the cd/dvd-rom. Once the OS is installed we will boot of the virtual hard drive and not the cd/dvd-rom drive. -m means we have assigned 512 Mb of RAM to this virtual machine.
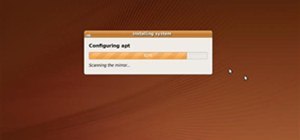
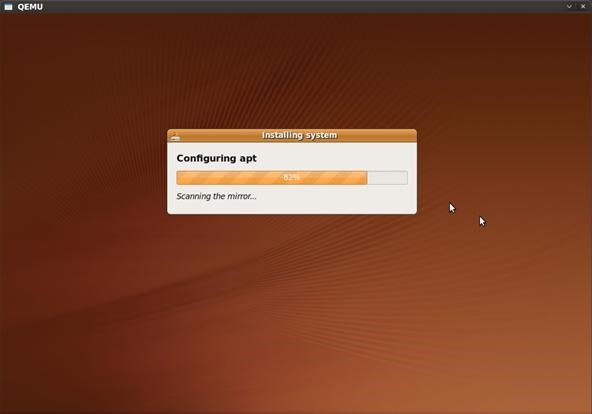
Step 3 Install the Operating System
After Step 2, the image will boot, and we go through the installation steps like normal.
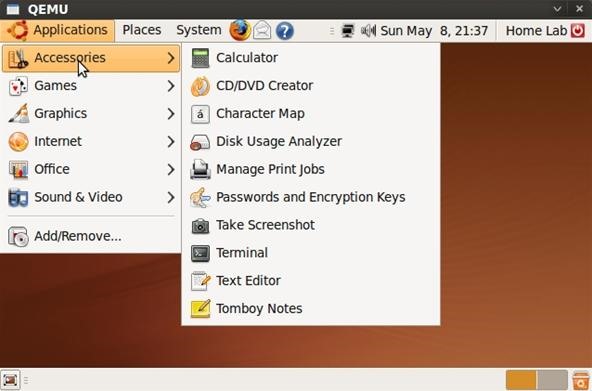
Step 4 Boot the newly installed Operating System from the virtual hard drive
After the Operating System is installed, we can now boot from the virtual hard drive. The command to launch the virtual machine looks very much the same as the one in step 2, but with the exception that we use -boot c instead of -boot d to indicate that we are booting from the hard drive now.
$ sudo kvm -daemonize -cdrom /dev/cdrom -hda kvm-virtual-disk -boot c -m 512
The above command will run the virtual machine as a daemon in the background (in other words you will be able to continue using the command line for other tasks).
The above steps can be followed for most operating systems you wish to install as virtual machines. Some operating systems might require some special settings in terms of hardware configuration and video adapters.
In some future articles, I will show how to network the KVM virtual machine to the host system as well as the physical network.
Tips
- This article introduces KVM using the linux command line. There are several Graphical User Interfaces (GUI) that can be used for KVM. Take a look at virt-manager, or any qemu front end.
- There are also open source enterprise virtualisation solutions available intended for dedicated hardware which is based on KVM. You can just google for "open source virtualization platform" to find the most suitable one for you.
Just updated your iPhone? You'll find new emoji, enhanced security, podcast transcripts, Apple Cash virtual numbers, and other useful features. There are even new additions hidden within Safari. Find out what's new and changed on your iPhone with the iOS 17.4 update.


Be the First to Comment
Share Your Thoughts